Topic: How to add and manage events
Description: Learn how to add and manage events in the ‘What’s Up’ webpart
Related Image: Recommended image dimensions: 150 x 150 pixels
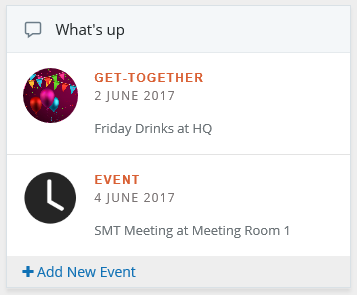
Table of contents:
1.How to add an event
2.How to update an event
3.How to delete your event
4.How to manage and view all events
1.1. Navigate to the home page of your site or relevant subsite
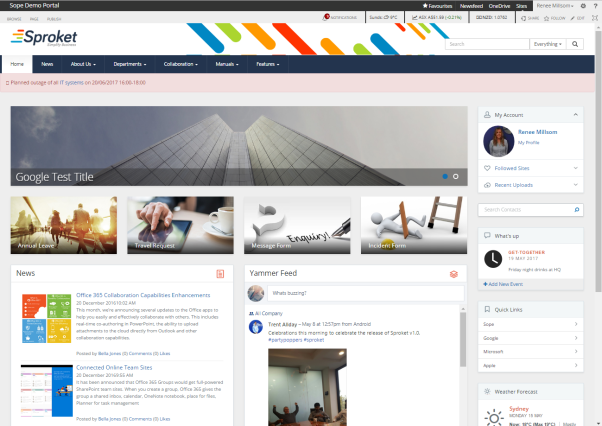
1.2. Navigate to the ‘What’s up’ or relevant ‘Events’ webpart

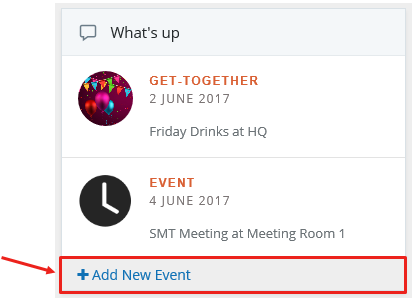
1.3. Click on ‘Add New Event’
Click on ‘+ Add New Event’ located at the bottom of the webpart
1.4. Complete the event details
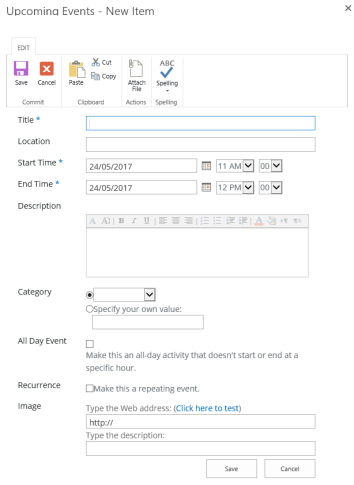
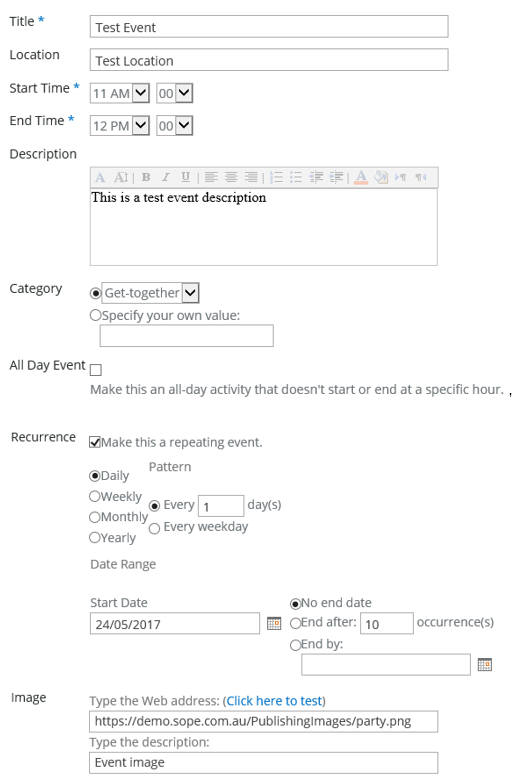
Title – Provide a Title for your event, this will appear in the relevant webpart
Location – Provide where your event will take place, this will appear in the relevant webpart

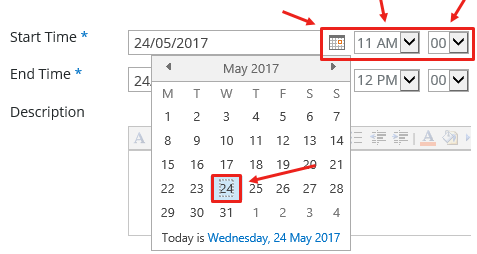
Start Time & End Time – Provide the start date and time (this will appear in the relevant webpart) and end date and time.
Use the calendar icon or type in the date in the following format: DD/MM/YYYY. Update the time using the hour and minute drop down boxes (if your event is an ‘All Day Event’, please select the tick box further down the form to remove the time section)
Description – Provide a description for your event, use the basic formatting tools to update your text

Category – Select a ‘Category’ from the drop down menu or specify your own value. This will appear in the relevant webpart as a hyperlink to the full event

All Day Event – Tick if your event is an ‘all day event’. This will remove the time options within ‘Start Time’ and ‘End Time’

Recurrence – Tick if your event is a ‘repeating event’. Provide the ‘Pattern’ and ‘Date range’ of your recurrence by selecting how often it will occur and until when
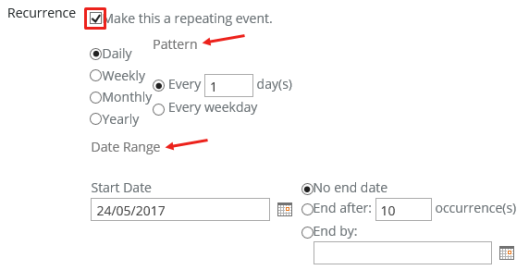
Image - Ability to reference an image to appear as the thumbnail on the relevant webpart, if no image is defined a placeholder image will appear
Copy and paste a link to an image that exists within SharePoint or an external site. Use the ‘Click here to test’ function to ensure your link takes you to the correct image. Add a description to your image (optional)

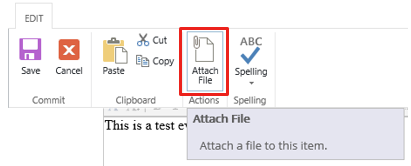
Attach File – Select ‘Attach File’ in the top ribbon and then ‘Browse’ to attach a related document
Example Event

1.5. Save your event
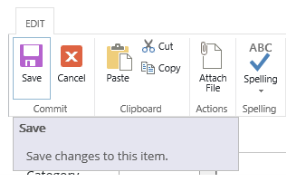
Click on ‘Save’ located in the top LH corner or bottom RH corner

1.6. View your event
Once saved, your event can now be found in the relevant webpart
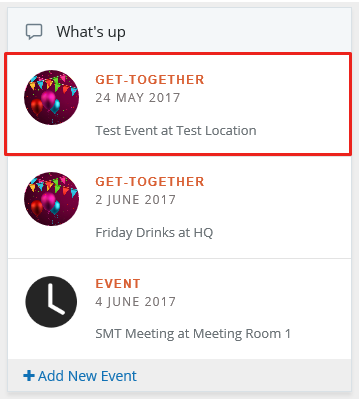
Clicking on the ‘Category’ or ‘Image’ will take you to your event details (if you did not provide a ‘Category’ this text will say ‘Event’)

Full event details
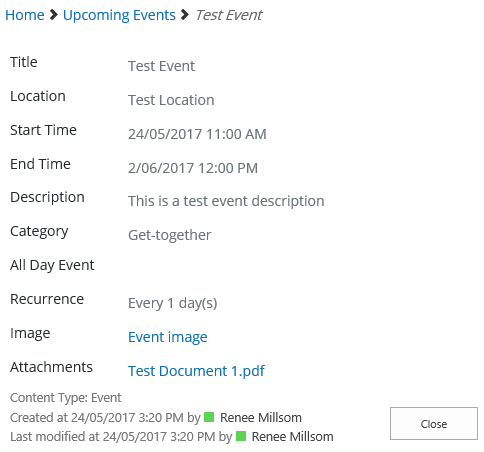
2.1. Click on the ‘Category’ or ‘Image’ to view full event details

2.2. Click ‘Edit’ located in the top LH corner
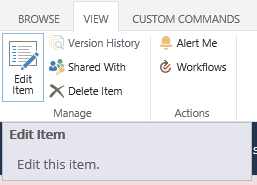
This will take you back to the original form you filled out when creating your event
Make any changes to your event and click on ‘Save’

3.1. Click on the ‘Category’ or ‘Image’ to view full event details

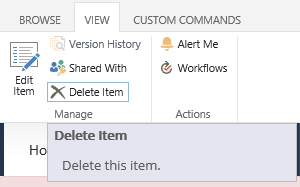
3.2. Click ‘Delete Item’ located in the top LH corner
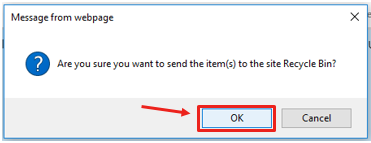
3.3. Click ‘OK’
Click ‘OK’ to confirm deletion
To manage all events you need to navigate to the ‘UpcomingEvents’ calendar
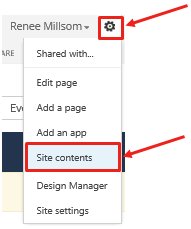
4.1. Click on the Settings wheel > Site Contents
Located in the top RH corner of your home site or relevant subsite click on the ‘Settings wheel’ and then ‘Site contents’
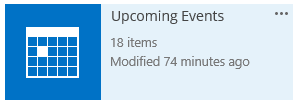
Click on ‘UpcomingEvents’
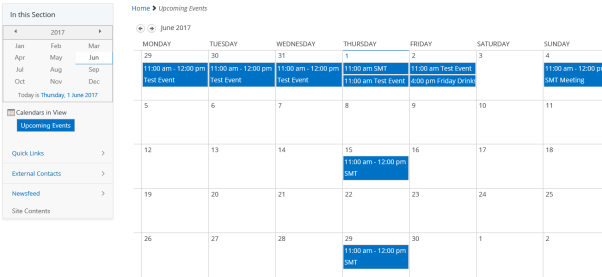
This will take you to the ‘Calendar’ view with all events by month
Use the ‘Events’ and ‘Calendar’ tabs in the ribbon in the top LH corner
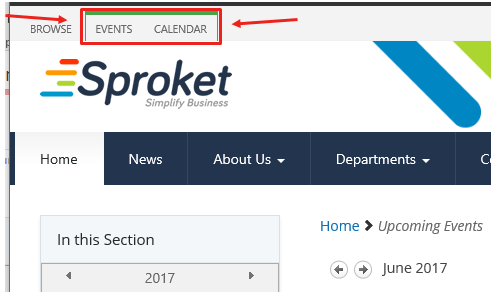
In the ‘Events’ tab will be able to do things like:
• Add New Event
• View Event
• Edit Event
• Delete Event
• Set an Alert on an event

In the ‘Calendar’ tab you will be able to do things like:
• Update the view by Day, Week and Month
• Add additional calendars using Calendar Overlay
• Create and Modify new views
• Connect to Outlook
• Set an Alert on the calendar
