Topic: How to add and manage news articles (blog)
Description: Learn how to add and manage news articles using the SharePoint blog functionality
Related Image: Recommended thumbnail image dimensions: 150 x 150 pixels
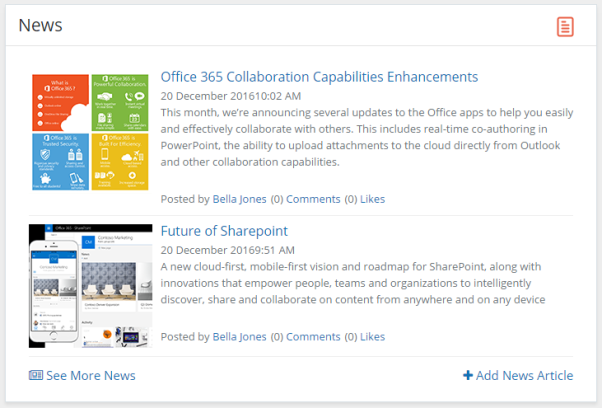
Table of contents:
1.How to add a news article
2.How to manage news articles
3.How to interact with news articles
4.How to use news categories
5.How to use news archives
1.1. Navigate to the home page of your site or relevant news site
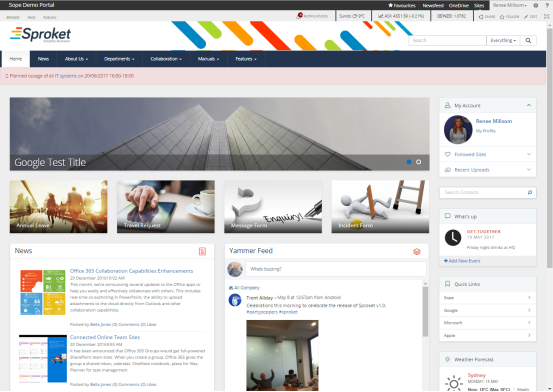
Your news site can be accessed at /news
Ie https://demo.sope.com.au/news
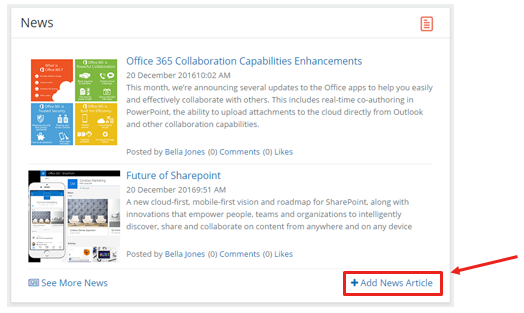
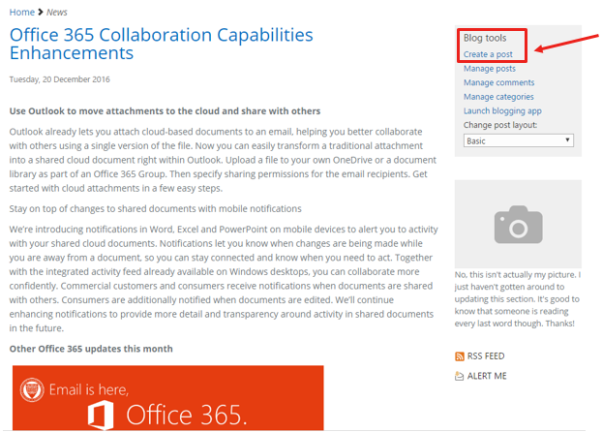
1.2. Click on ‘Add News Article’ or ‘Create a post’
Click on ‘Add News Article’ via the home page webpart
Or click on ‘Create a post’ via the Blog Tools in your news site
1.3. Complete your article details
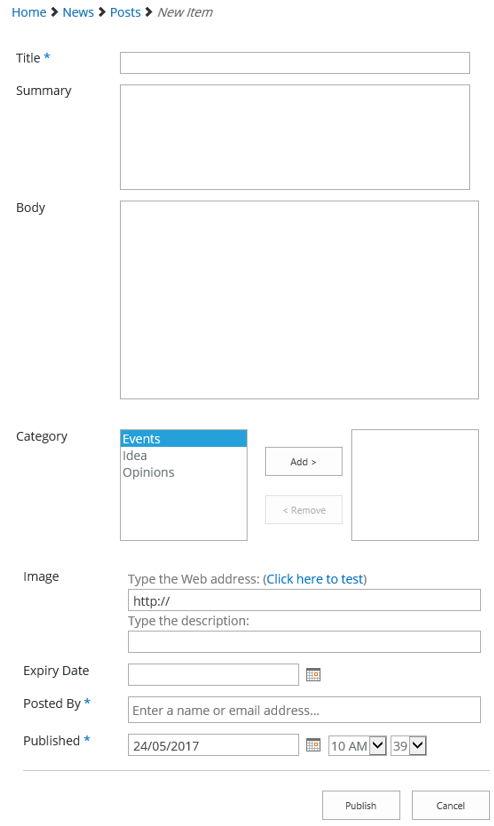
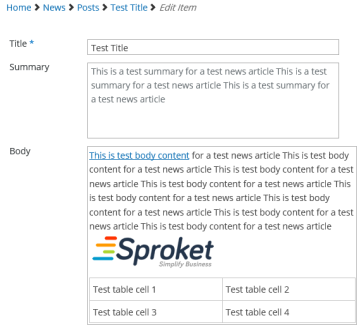
Title - Title of your article, hyperlinked to view full article details

Summary - Summary text displayed on the home page webpart

Body - Full article details – Use the ‘Format Text’ editor in the ribbon to format your text including dot points and numbering, heading and font styles, text alignment etc
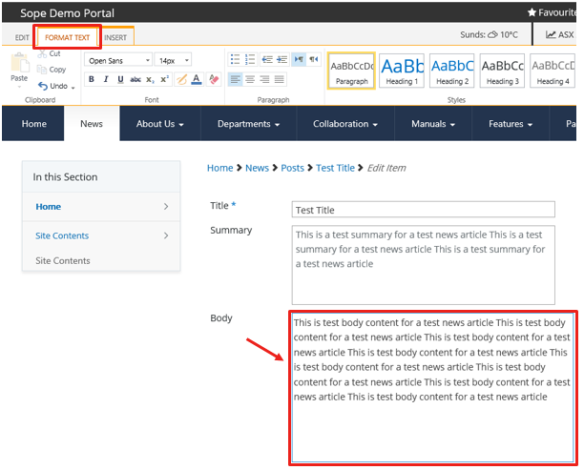
Use the ‘Insert’ tab in the ribbon to insert things like tables, pictures, hyperlinks etc
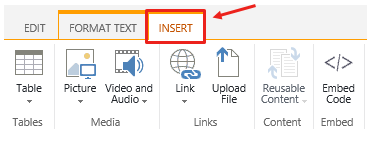
When you insert an item, an additional tab will appear to help you configure the item
ie Link

Table – Layout and Design tabs

Image

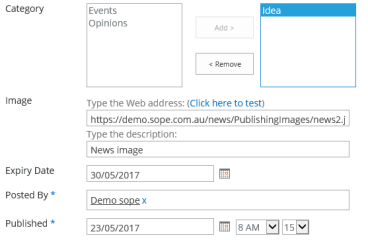
Category - Ability to categorise your articles from a user defined category list. Use the ‘Add’ and ‘Remove’ buttons to take the selected category from the LH box to the RH box

Image - Ability to reference an image to appear as the thumbnail on the home page webpart, if no image is defined a placeholder image will appear
Copy and paste a link to an image that exists within SharePoint or an external site. Use the ‘Click here to test’ function to ensure your link takes you to the correct image. Add a description to your image (optional)

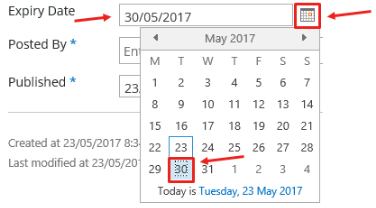
Expiry Date - Determines when the article will be removed from the home page and moved into the archives.
Use the calendar icon or type in the date in the following format: DD/MM/YYYY
Posted By - Assign the user name who is posting the article. Start typing where it says ‘Enter a name or email address’ to search for the user

This appears on the home page webpart and within the article details and is pulled from user profiles
Published - Defaulted to the current date and time, this is when your article will appear on the home page. Ability to schedule articles to later dates, Use the calendar icon or type in the date in the following format: DD/MM/YYYY

Example Article
1.4. Publish your article
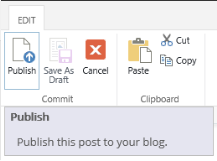
Click on ‘Publish’ located in the top LH corner or bottom RH corner

1.5. View your article
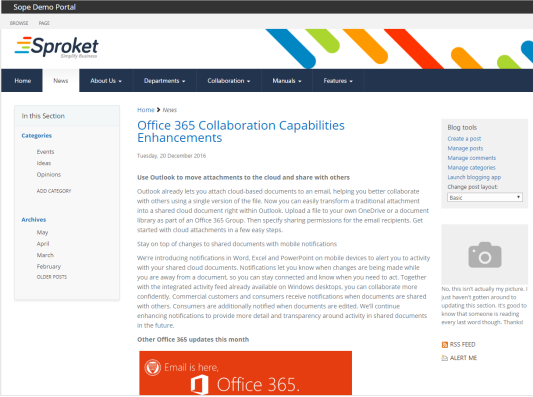
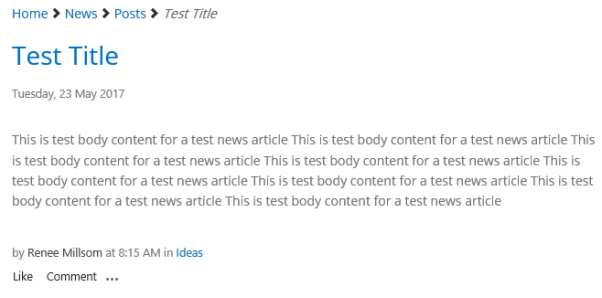
Once published, your article can now be found on the home page and within the news site

Clicking on the ‘Title’ will take you to your full article details
2.1. Edit your article
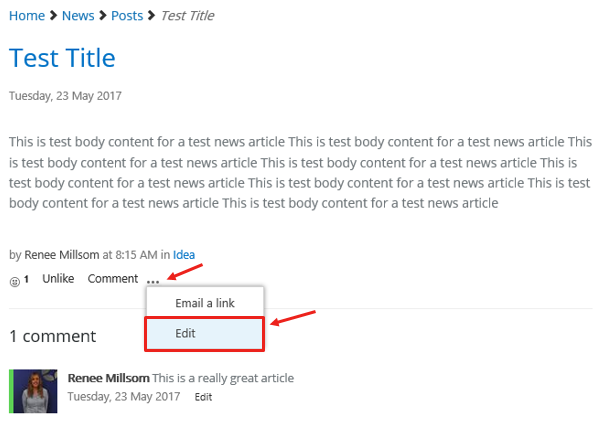
Navigate to your relevant news article by clicking on the article ‘Title’ or via the news site
Click on the ‘Ellipsis’ and then ‘Edit’
You can also navigate to your news site and click on ‘Manage posts’ in the ‘Blog Tools’ located on the RHS
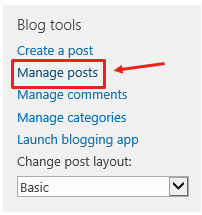
This will take you within the ‘Posts’ list where you can view all existing news articles

Use the ‘Edit icon’ or click on the ‘Ellipsis’ and then ‘Edit Item’ to edit the selected article

This will take you back to the original form you filled out when creating your article
Make any changes to your article and click on ‘Publish’

2.2. Delete your article
Navigate to your relevant news article by clicking on the article ‘Title’ or via the news site
Click on the ‘Ellipsis’ and then ‘Edit’

This will take you back to the original form you filled out when creating your article
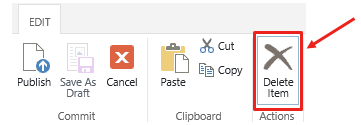
Click on ‘Delete Item’ located in the ribbon in the top LH corner
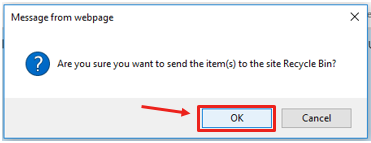
Click ‘OK’ to confirm deletion
You can also navigate to your news site and click on ‘Manage posts’ in the ‘Blog Tools’ located on the RHS

This will take you within the ‘Posts’ list where you can view all existing news articles
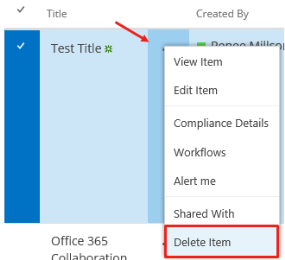
Select the relevant article and click on the ‘Ellipsis’ and then ‘Delete Item’
Click ‘OK’ to confirm deletion

Now that you have posted a news article, you can do the following things to your article or other articles posted:
• Like
• Comment
• Email a link
Navigate to the relevant news article by clicking on the article Title or within the News site.
3.1. ‘Like’ an article
Select ‘Like’ within the bottom of the news articled. A count will appear for the article to show how many ‘likes’ for this specific article
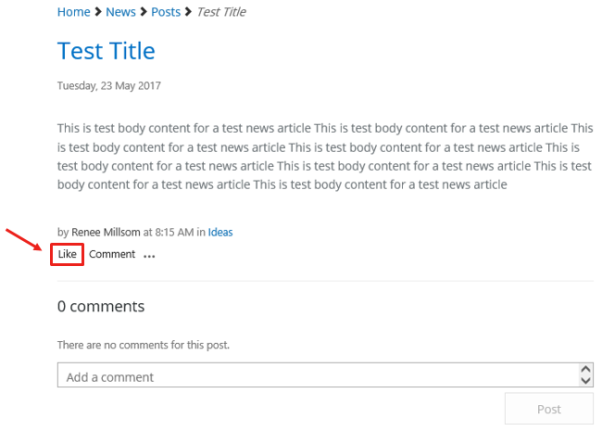 Once ‘liked’ a smiley face and a number indicator will appear where you can then select ‘Unlike’

3.2. ‘Comment’ on an article
Provide your feedback, suggestions, responses etc on an article by adding a comment.
Click on ‘Comment’ or start typing in the box that states ‘Add a comment’
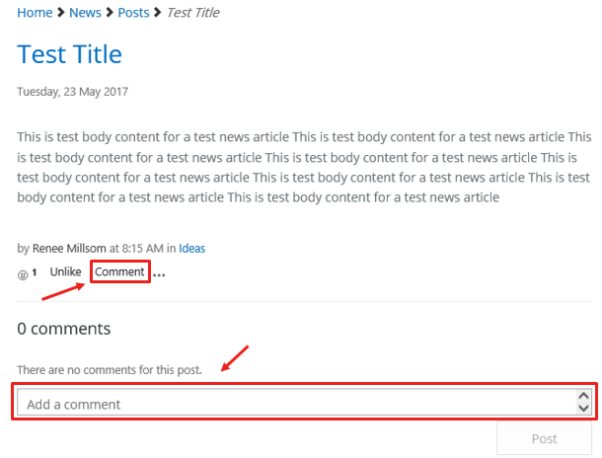
Click ‘Post’ to add your comment to the article

View yours and other comments as a feed below the article
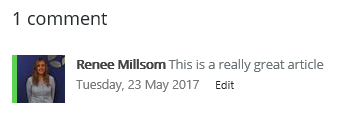
3.3. ‘Email a link’ to an article
To make sharing and collaboration easier for your news articles, email a link to your collegues so they can view and interact with the article too.
Select the ellipsis (three dots) within the article
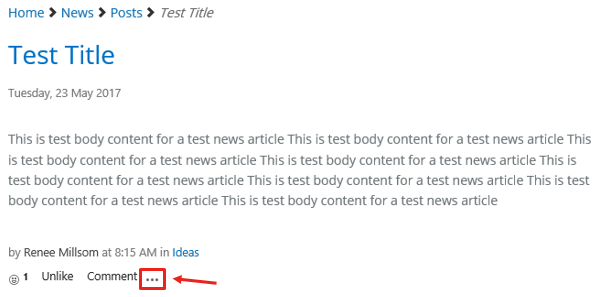
Click on ‘Email a link’
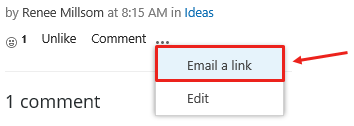
Select ‘Allow’
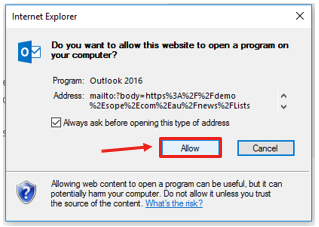
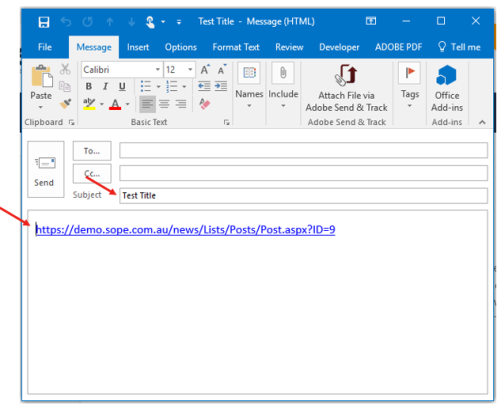
Outlook will draft an email with the article Title in the subject line and the link to the article in the body
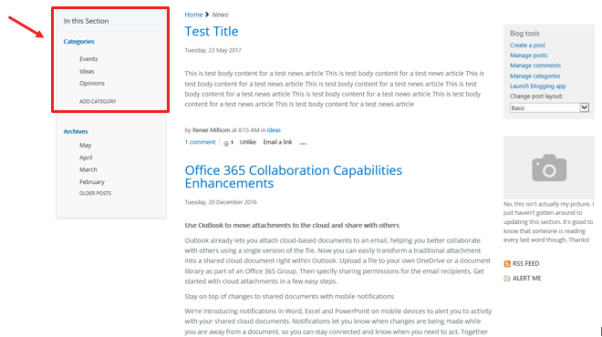
4.1. View articles by Category
Within the news site or within a news article, use the LH navigation to easily filter down articles by the relevant category.
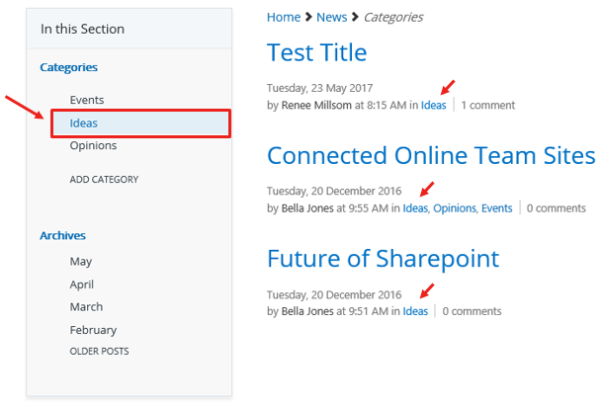
Clicking on the category will show you a filtered view of all articles that have been ‘tagged’ as that category
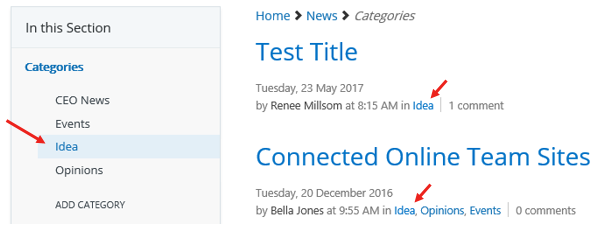
Ie Ideas
You will notice the Category appears as a tag at the bottom of the article
4.2. Add new category
Add a new category by navigating to the news site or within a news article.
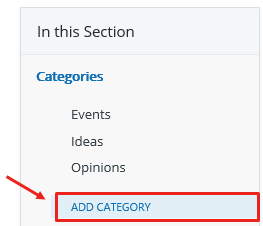
Click on ‘Add category’ within the LH navigation
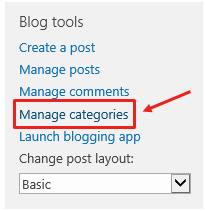
Or click on ‘Manage categories’ in the ‘Blog Tools’ located on the RHS
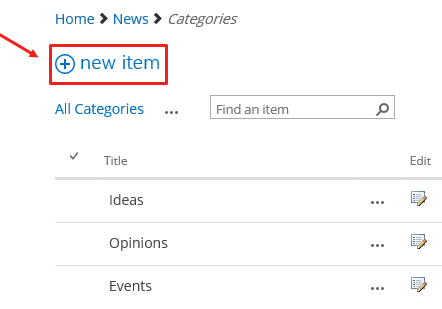
This will take you within the ‘Categories’ list where you can view all existing categories
Click on ‘new item’ to add a new category
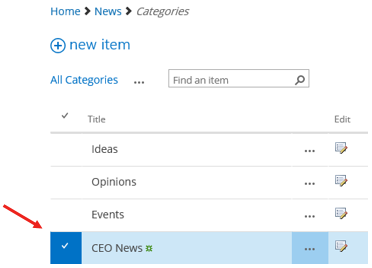
Provide a ‘Title’ for your new category and click ‘Save’

Your new category will now be available in the following places:
Category List
‘Add News Article’ form

Category filters in the LH navigation
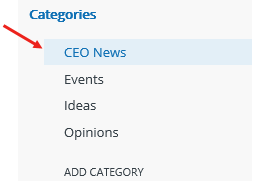
4.3. ‘Edit’ categories
Click on ‘Manage categories’ in the ‘Blog Tools’ located on the RHS

This will take you within the ‘Categories’ list where you can view all existing categories
‘Edit’ an existing category by selecting the ‘Edit icon’

Or by selecting the ‘Ellipsis’ and then ‘Edit item’

Update the text and click on ‘Save’

Note: All existing articles and category references will be updated to reflect this category change
Ie
4.4. Delete a category
Click on ‘Manage categories’ in the ‘Blog Tools’ located on the RHS

This will take you within the ‘Categories’ list where you can view all existing categories
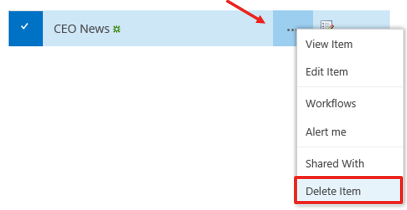
Select the ‘Ellipsis’ and then ‘Delete Item’
When posting a news article, an ‘Expiry Date’ is defined. When the expiry date has passed this will remove the article from the home page news webpart
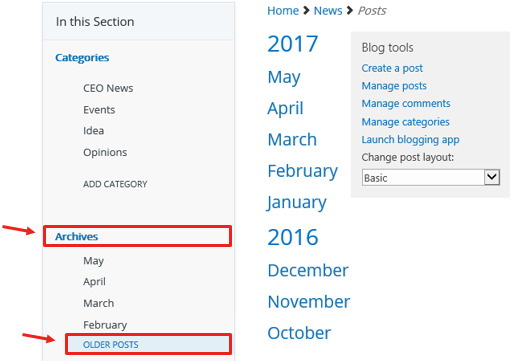
The article has not been deleted but can always be found in the ‘Archives’ section of the news site located on the LH navigation
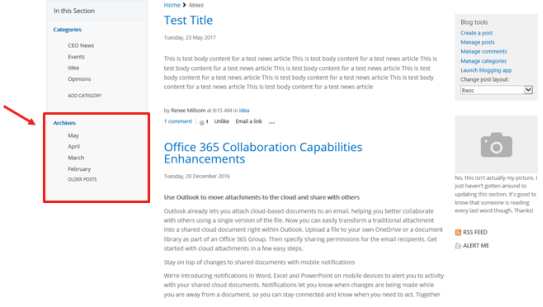
Use the archive section to filter your articles based on ‘Month’. The most recent months will display where you can view articles from the last 4 months
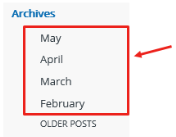
Ie May
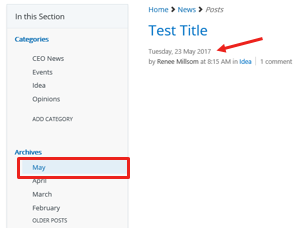
Click on ‘Archives’ or ‘Older Posts’ to view all months and even previous years
