Topic: How to set permissions on a document
Description: Learn how to restrict permissions on a specific document to individual users or groups
Table of contents:
1.How to manage Document Permissions
2.How to Check Permissions
3.How to Grant Permissions
4.How to Remove User Permissions
5.How to Edit User Permissions
Within Sharepoint there is the Root site, Subsites, Pages, Lists and Libraries, Document sets/Folders and Individual items. Each one of these can have unique permissions and be restricted down to a group of people without effecting other areas of the site.
Within a document library or a document set/folder we have individual documents. There may be some cases where the document library or document set permission level is already set but you need a specific document to have its own permissions.
We do not recommend setting individual permissions on document too often as it becomes harder to manage and maintain moving forward.
1.1. Navigate to the document you want to restrict the access to
1.2. Find your specific document

1.3. Select your document

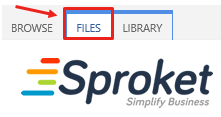
1.4. Click on the Files tab
Click on the ‘Files’ tab located in the top LH corner
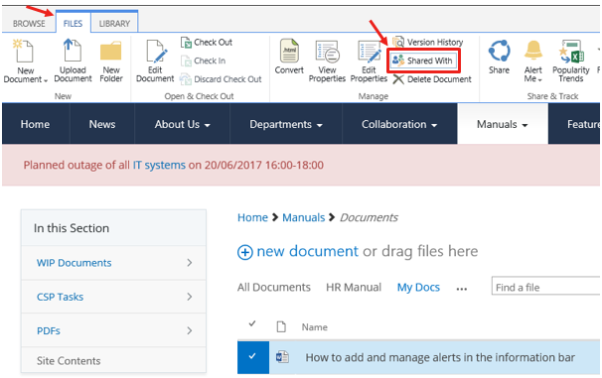
1.5. Click on ‘Shared With’
1.6.  Click on ‘Advanced’
If you do not see the ‘Advanced’ option you do not have enough permissions
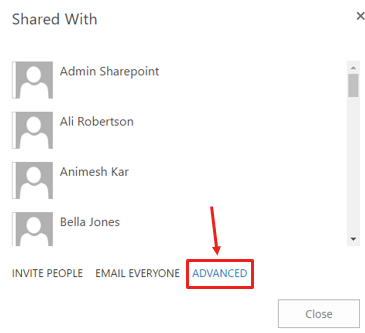

Here you will see a list of Sharepoint Groups that have access to this particular document
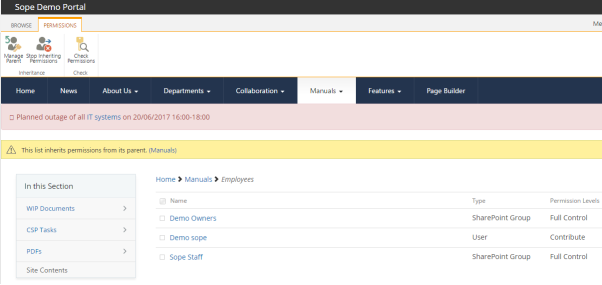
In the permissions tab in the top LHS you will either see Manage Parent and Stop Inheriting Permissions
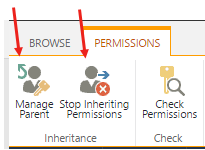
If you see this it means this document is currently inheriting the same permission levels as the parent list or subsite above.
1.7. Manage Parent
If you want to change the permissions of the above list or subsite, click on Manage Parent
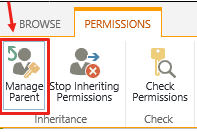
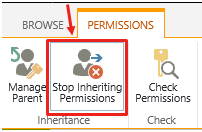
1.8. Stop Inheriting Permissions
If you want this document to have a different set of permissions click on Stop Inheriting Permissions
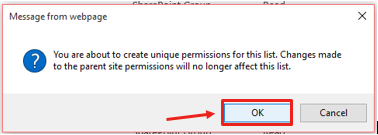
1.9. Click OK
Ensure you are wanting to separate the document permissions from the parent subsite and click OK
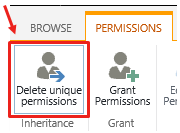
An updated permissions tab will appear where it now has Delete Unique Permissions and Grant Permissions
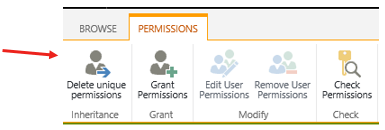
1.10. Delete Unique Permissions
Deleting unique permissions will revert it back to the original parent list or subsite permissions
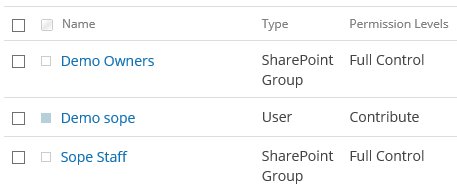
In this list you can see the Name, Type and Permission Levels.
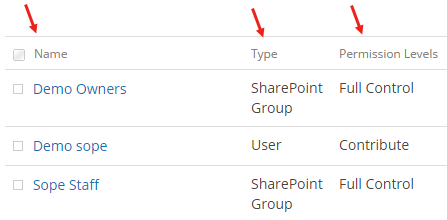
Anything you now change here will only effect this specific document
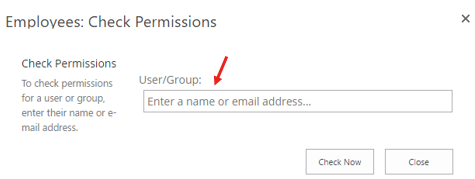
2.1. Click on ‘Check Permissions’
Within the ‘Permissions’ tab click on ‘Check Permissions’
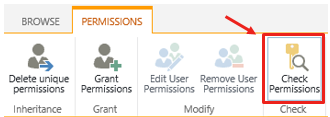
2.2. Type name or email address
Here you can type in a name of a user or group or an email address to see the permission level
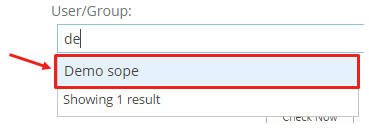
2.3. Select the name from the drop down
2.4. Click on ‘Check Now’

The permission level will display in a list and will give a description on which group the user is in within this document

If the user does not have permission to this document it will display as None

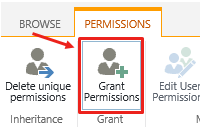
3.1. Click on ‘Grant Permissions’
To give a group or user/s permission to this document. Click on the Grant Permissions button in the Permissions tab
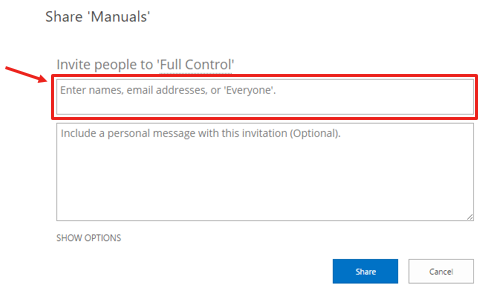
3.2. Search for a user or group
Type the name of the user/s or group where it says ‘Enter names, email addresses or ‘Everyone’’
3.3. Select your user/group from the drop down
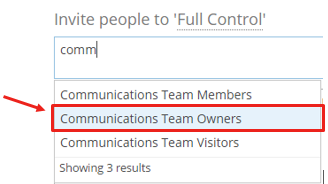
3.4. Send email invitation
If you wish to add a message to this user or group type in box where it says Include a person message with this invitation (optional)

3.5. Do not send an email invitiation
If you do not wish to send them a notification click on Show Options
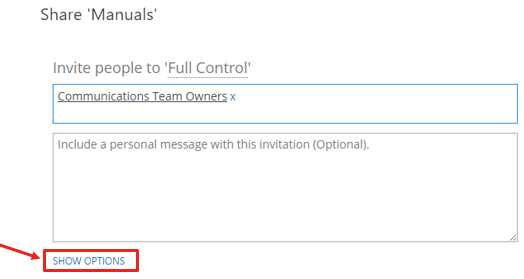
De select the Send an email invitation tickbox

3.6. Select the permission level you wish this group or user/s to have
Select from the drop down which level of permission
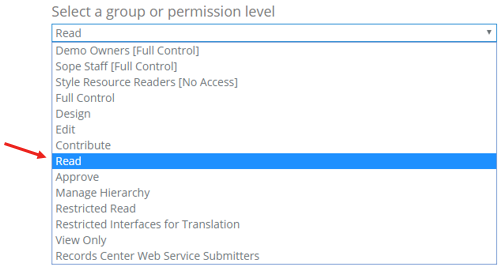
3.7. Click on ‘Share’

New group or user/s will be added to this document
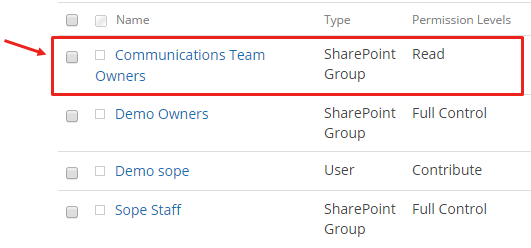
If there is a user/s or a group that has access to the document that you no longer want them to be able to see.
4.1. Click on the tick box next to the user/s or group name

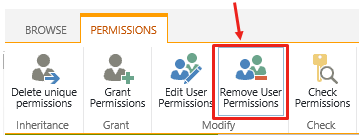
4.2. Click on ‘Remove User Permissions’
In the Permissions tab in the top LHS click on Remove User Permissions
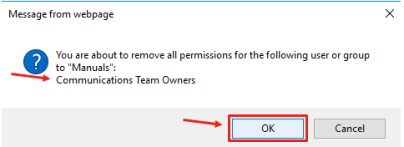
Ensure you are removing the correct user/s or group before you click OK
User/s or group has been removed from the list
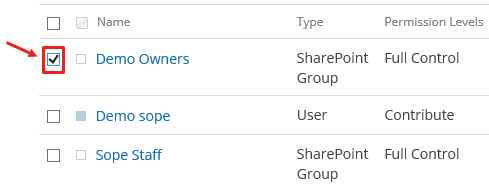
If a user/s or group has access to the document but does not have the correct level. You can use select the tickbox next to their name and edit their permission level
5.1. Select the user/s or group you want to change access for
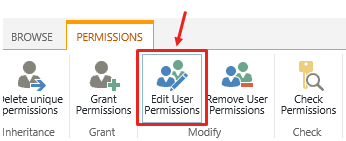
5.2. Click on ‘Edit User Permissions’
In the Permissions tab in the LHS click on Edit User Permissions
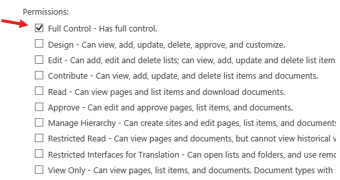
5.3. Check their current permission level
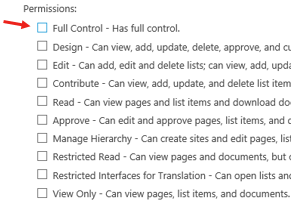
5.4. De select their current permission level
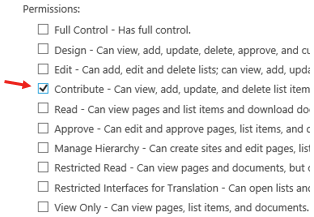
5.5. Replace with new permission level
5.6. Click OK
